tinyGS
· g4lile0 · tutorial · 3 min read
Gathering Your Equipment: The tinyGS Ground Station BOM
A complete guide to the hardware, antennas, and cables needed to build your first automated satellite tracking station.
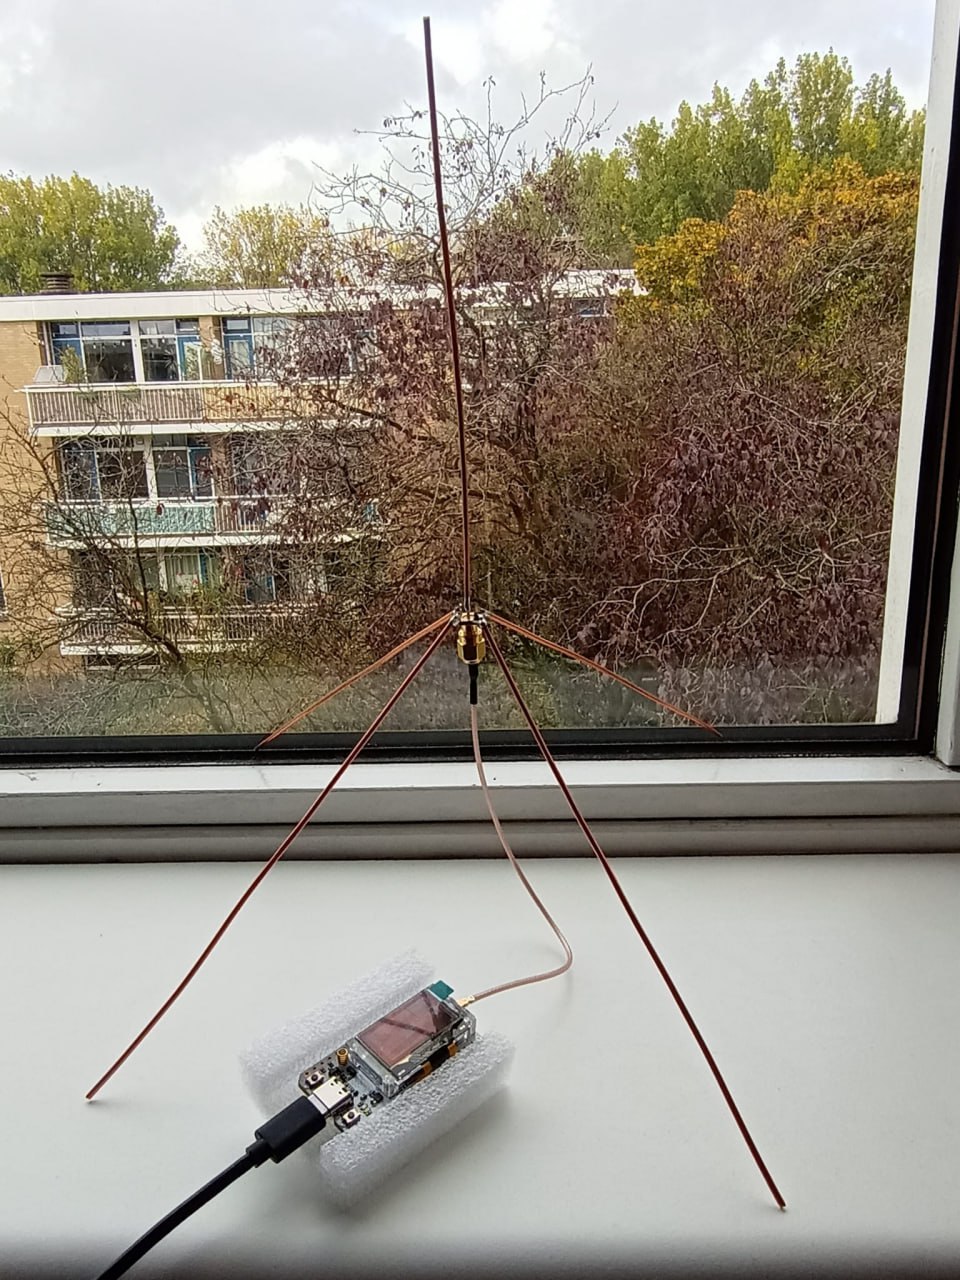
Welcome to your first tinyGS tutorial! To build your own automated satellite tracking ground station, you only need three essential components: a LoRa receiver board, an antenna, and the correct RF cable to connect them.
Below is the complete Bill of Materials (BOM) with our current recommendations for getting the best satellite reception.
1. LoRa® Receiver Board
The brain of your ground station is an ESP32 micro-controller paired with a Semtech radio transceiver. While several variations work, we strongly recommend a board with a precise TCXO (Temperature Compensated Crystal Oscillator). This prevents frequency drift caused by temperature changes, allowing you to reliably track both LoRa and FSK satellites.
Recommended Board
- Heltec WiFi LoRa 32 (V3) * Processor/Radio: ESP32-S3 + SX1262
- Frequency Band: 433 MHz (Crucial: Read the operational note below before purchasing!)
- Why it’s great: Includes the high-precision SX1262 transceiver with built-in TCXO.
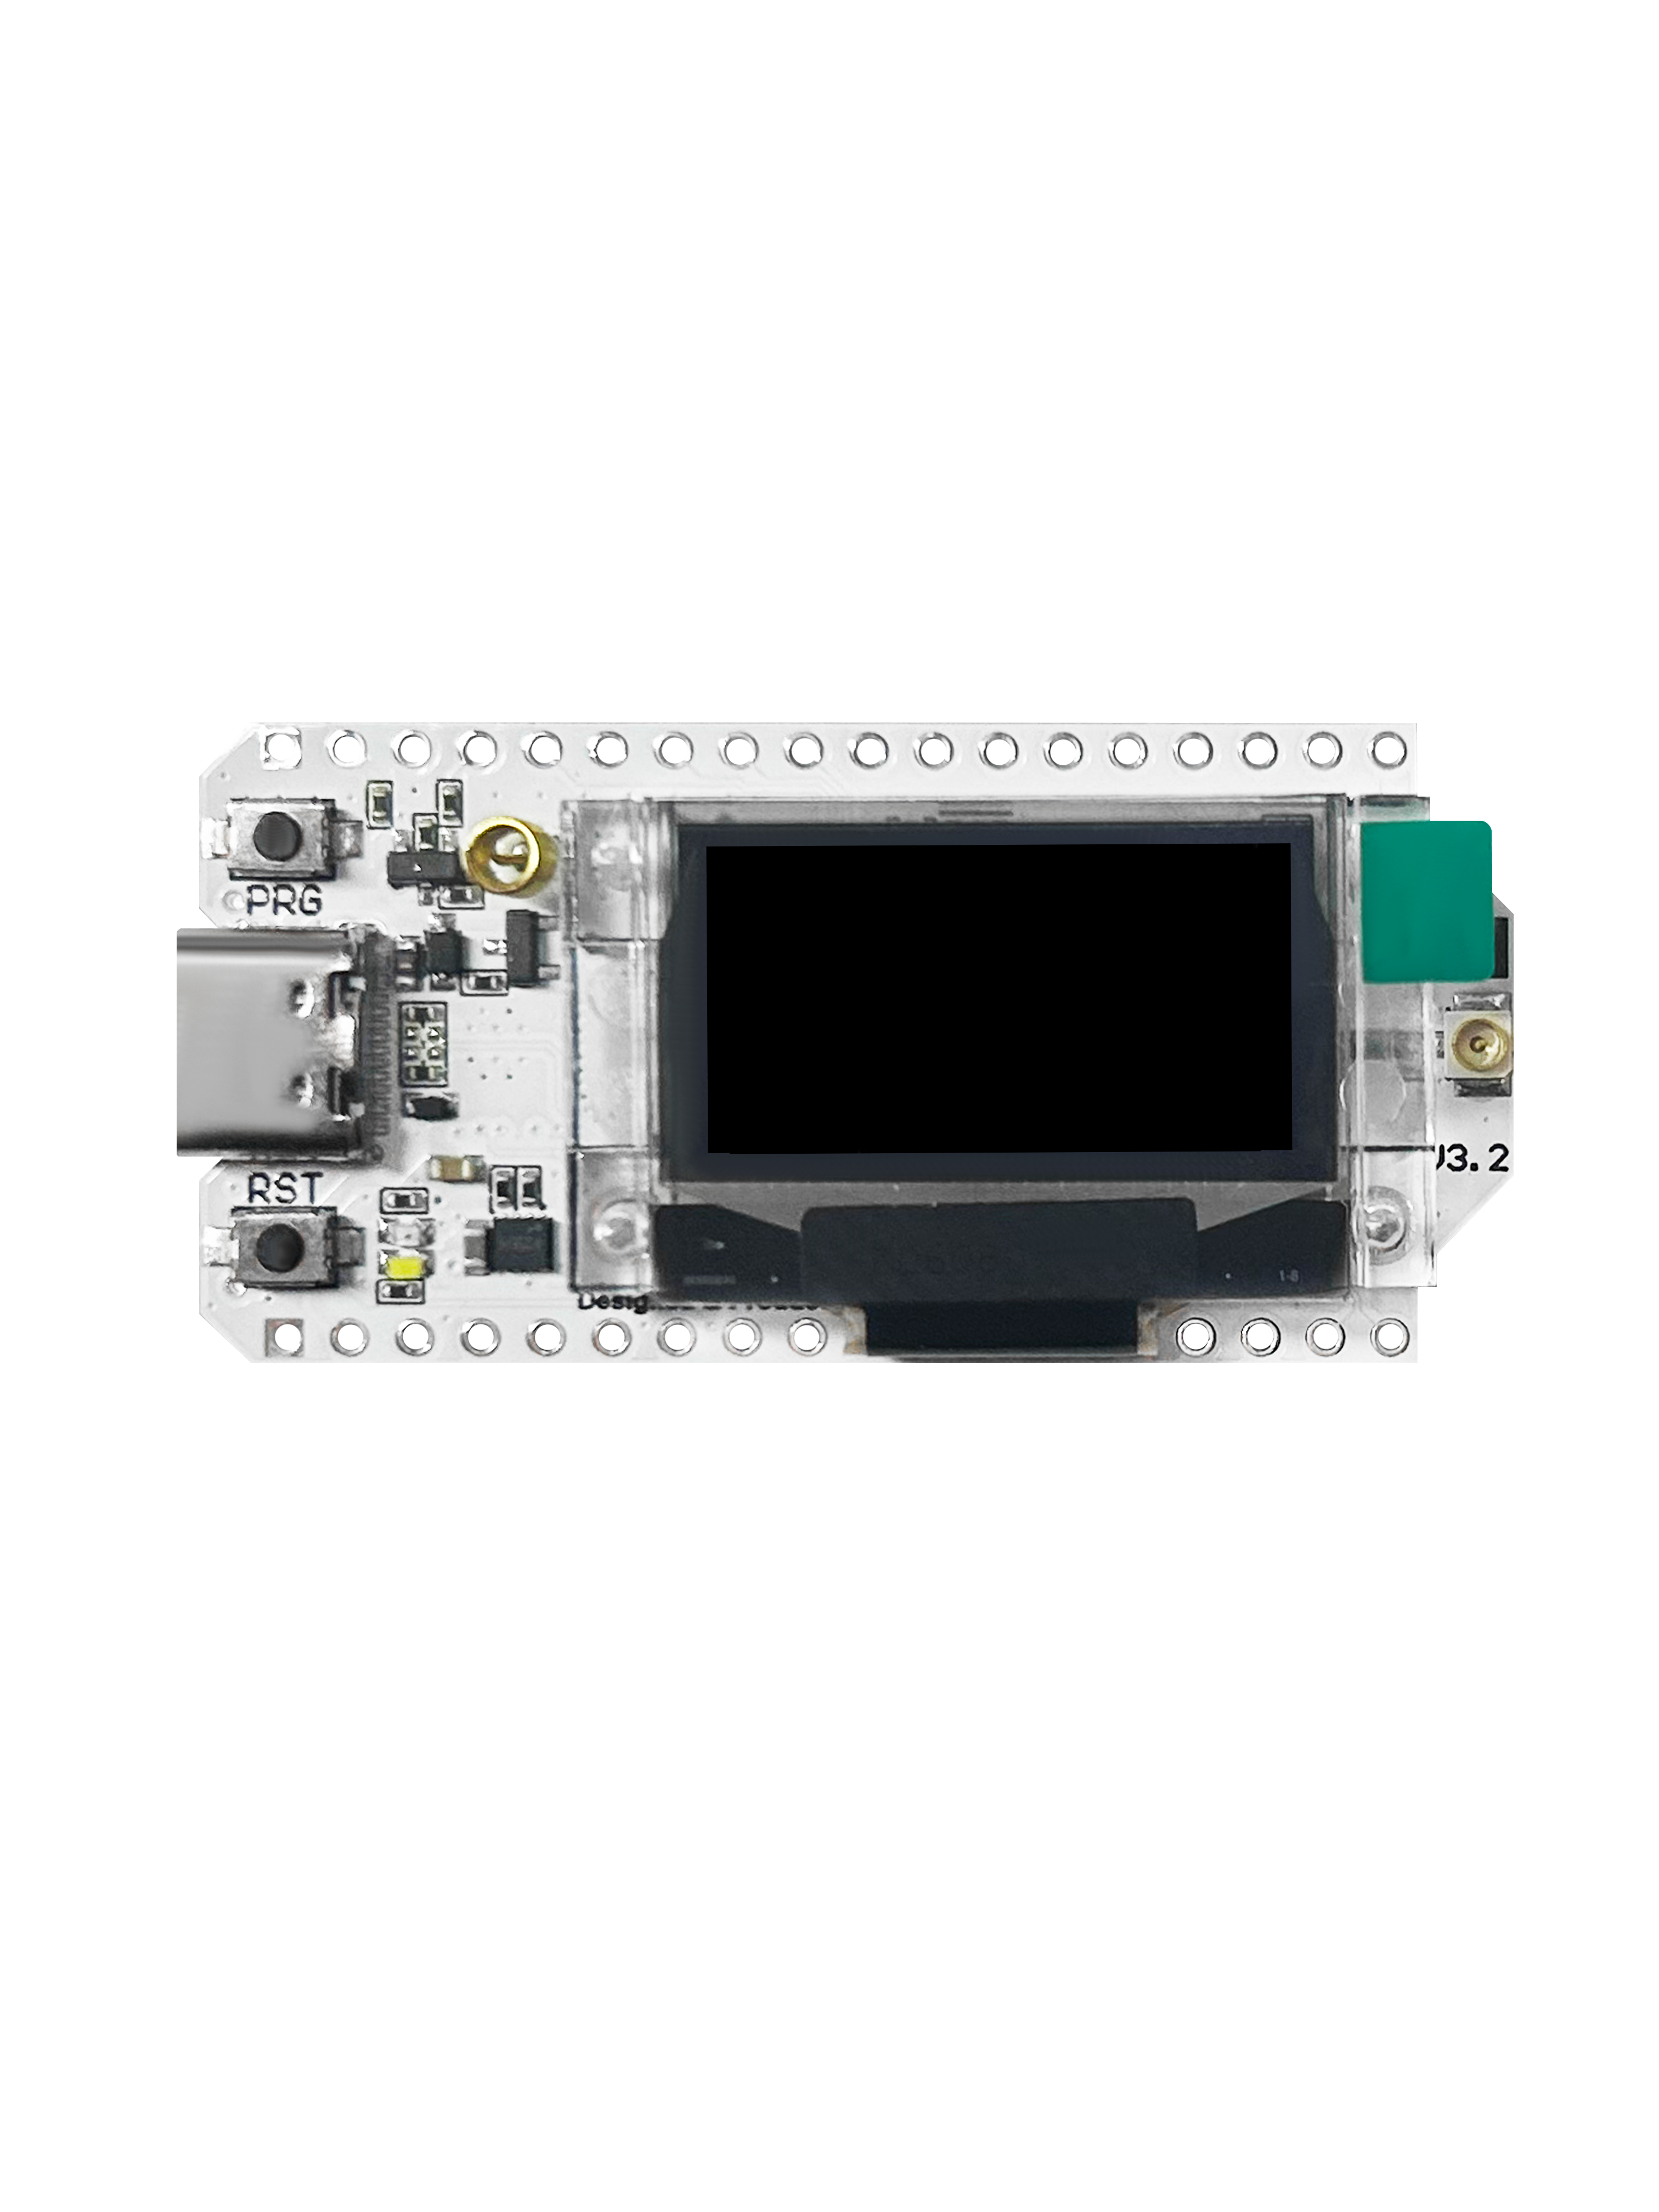
ℹ️ Operational Frequency Note: > Although the tinyGS network can operate on 868 MHz (currently only in Europe) and 137 MHz, we strongly recommend choosing the 433 MHz band for any new station. Over 90% of active LoRa satellites in the network operate on the 437/400 MHz frequency. Setting up a 433 MHz station ensures your ground station receives data packets right from day one.
2. Antenna
Your antenna is the most critical factor for intercepting weak signals from space.
⚠️ Warning about the included stock antenna The small whip antenna that comes in the box with your Heltec board is useful only for quick bench checks (boot, Wi-Fi, and firmware flashing). For real satellite reception, it is not recommended and will often receive little to nothing.
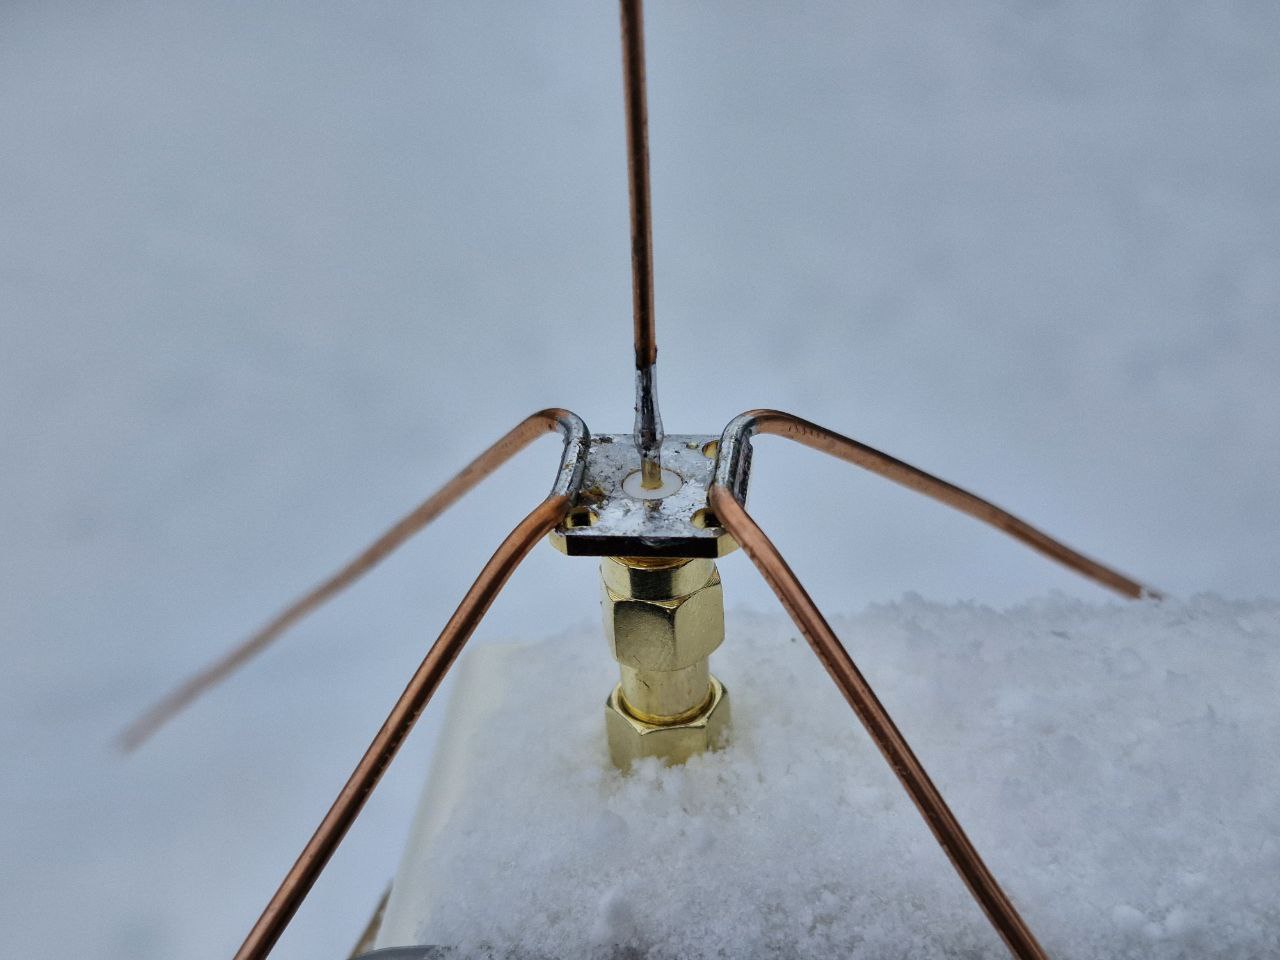
📡 Option A: DIY 1/4 Wave Ground Plane (Best Value)
To track lower-power satellites without breaking the bank, build a simple 70cm ground plane antenna.
- Low-cost and easy to source.
- Great learning project for new Tiners.
- Reliable results when built and tuned correctly.
👉 Build your own 1/4 Wave Ground Plane Antenna (Step-by-Step Tutorial)
📡 Option B: Commercial Antennas (Plug-and-Play)
If you prefer a ready-made antenna, these are solid options:
- HYS 433Mhz 3dbi Omni Antenna on Amazon for a strong price/performance balance.
- Diamond Antenna X30A for users with more budget who want higher performance and better horizon coverage.
3. Antenna Connector & Cables (Pigtails)
To feed the signal from your antenna into the micro-miniature connector on your Heltec board, you need a specialized coaxial adapter cable (often called a pigtail).
💡 Pro-Tip: Cable length causes signal loss (attenuation) at 433MHz. Always keep your coaxial cables as short as physically possible to avoid wasting precious satellite signals.
The type of connector you need depends strictly on the antenna you choose:
For the HYS 433MHz Omni Antenna (Option B)
The HYS antenna typically terminates in an SMA connector. To minimize signal losses, we recommend using as short of a cable as possible:
For the Diamond Antenna X30A (Option B, higher-budget upgrade)
In case you choose a Diamond Antenna X30A, you will need a completely different, lower-loss cable configuration to match its UHF base connector:
Next Steps 🛠️
Once you have collected these components, you are ready to proceed to the next tutorial: Flashing the tinyGS Firmware directly from your web browser!